
Introduction
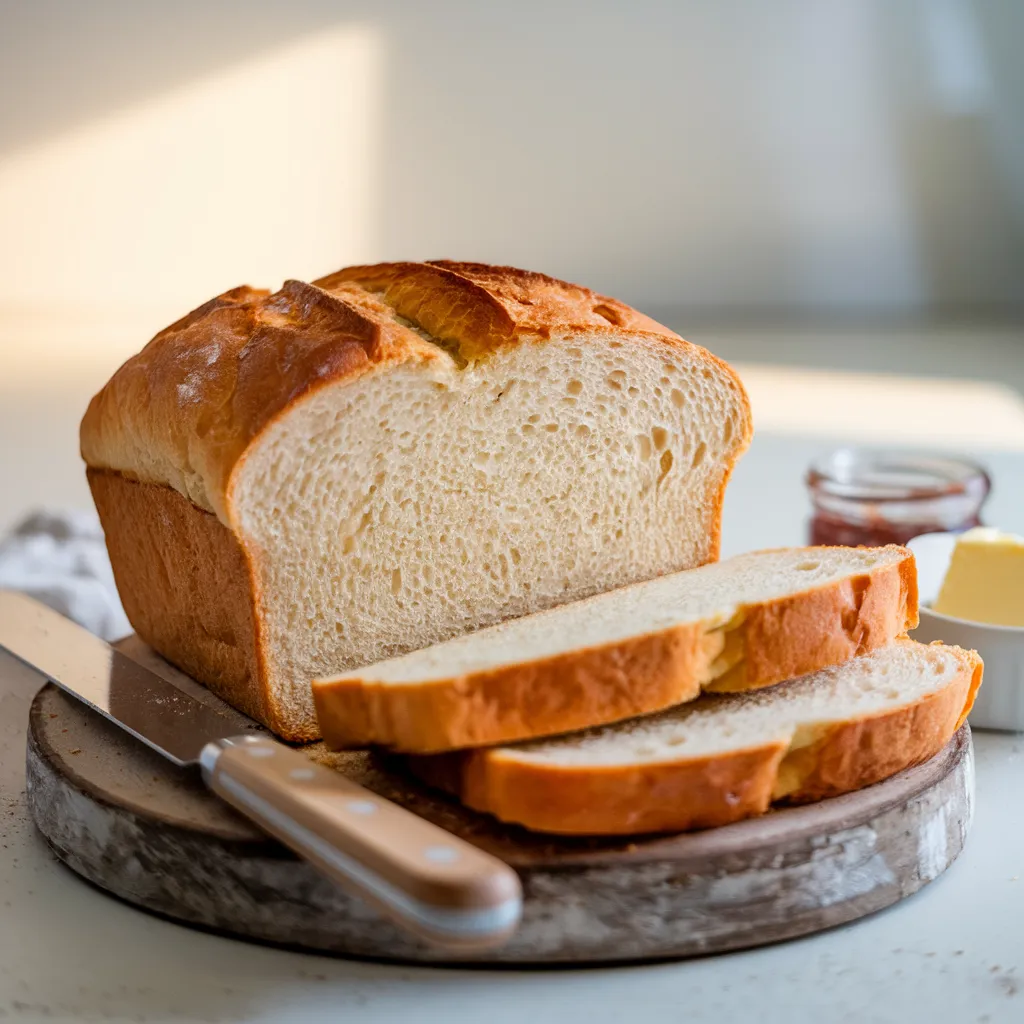
There’s something undeniably comforting about the aroma of freshly baked bread wafting through the kitchen. For me, making homemade sandwich bread is not just about creating a staple for meals; it’s a labor of love that brings warmth and nostalgia. I remember watching my grandmother knead dough effortlessly, her hands moving with practiced ease, turning simple ingredients into the most divine, fluffy bread. Now, as a home cook and food blogger, I take immense joy in recreating that magic in my kitchen. This easy homemade sandwich bread recipe is soft, fluffy, and foolproof, making it perfect for sandwiches, toast, or just enjoying warm with a spread of butter. If you’ve ever wanted to bake your own bread but felt intimidated, this recipe will change that. Let’s dive into making the best homemade sandwich bread from scratch!
Why You Will Love This Recipe
- Beginner-Friendly: No prior baking experience needed! This recipe walks you through every step with foolproof guidance.
- Soft & Fluffy: Perfect texture that holds up well in sandwiches yet remains light and airy.
- No Preservatives: Freshly made with wholesome ingredients, free from artificial additives.
- Budget-Friendly: Homemade bread is much more affordable than store-bought varieties, and you likely have most of the ingredients in your pantry.
- Versatile: Whether you use it for classic sandwiches, French toast, or grilled cheese, this bread is the perfect base for any meal.
Equipment Needed
Before you start, ensure you have the following kitchen tools:
- Large mixing bowl
- Stand mixer with a dough hook (optional but recommended)
- Measuring cups and spoons
- Whisk
- Dough scraper or spatula
- 9×5-inch loaf pan
- Kitchen towel
- Wire cooling rack
- Pastry brush (for butter glaze)
Ingredients
- 3 3/4 cups (450g) all-purpose flour (or bread flour for extra chewiness)
- 2 1/4 teaspoons (1 packet) active dry yeast
- 1 1/4 cups (300ml) warm water (110°F or 43°C)
- 2 tablespoons honey (or granulated sugar for a slightly different flavor)
- 2 tablespoons unsalted butter, melted
- 1 1/2 teaspoons salt
- 1/4 cup milk (for extra softness, optional)
- Additional butter for brushing (optional, for a glossy finish)
Substitution Tips
- If you don’t have honey, use maple syrup or brown sugar.
- Bread flour can be swapped with all-purpose flour, though bread flour gives a slightly chewier texture.
- For a dairy-free version, use plant-based milk and coconut oil instead of butter.
Instructions
Step 1: Activate the Yeast
In a small bowl, combine warm water, honey, and yeast. Stir gently and let it sit for about 5-10 minutes, until it becomes frothy. This step ensures that the yeast is active and ready to help the bread rise.
Step 2: Mix the Dough
In a large mixing bowl, whisk together flour and salt. Add the yeast mixture, melted butter, and milk. Using a stand mixer fitted with a dough hook, mix on low speed for about 2 minutes, then increase speed and knead for 6-8 minutes until the dough becomes smooth and elastic. If kneading by hand, turn the dough onto a floured surface and knead for about 10 minutes.
Step 3: First Rise
Shape the dough into a ball and place it in a lightly greased bowl. Cover with a damp towel and let it rise in a warm, draft-free place for 1 to 1.5 hours, or until doubled in size.
Step 4: Shape the Loaf
Punch down the risen dough to release air bubbles. Transfer it to a floured surface and shape it into a loaf. Place it into a greased 9×5-inch loaf pan and cover again with a towel.
Step 5: Second Rise
Let the dough rise again for 30-45 minutes until it slightly domes over the edges of the pan.
Step 6: Bake
Preheat the oven to 375°F (190°C). Bake for 25-30 minutes or until golden brown and the loaf sounds hollow when tapped.
Step 7: Cool & Serve
Remove from the oven and brush the top with melted butter for a soft crust. Let it cool in the pan for 10 minutes, then transfer to a wire rack to cool completely before slicing.
Tips
- Use warm water (not hot!): Too hot will kill the yeast, too cold will slow activation.
- Avoid over-flouring: A slightly sticky dough is better for soft bread.
- For a softer crust, brush with butter immediately after baking.
- For extra flavor, add a teaspoon of garlic powder or dried herbs to the dough.
Variations
- Whole Wheat Version: Swap half the flour for whole wheat flour for a heartier taste.
- Gluten-Free Option: Use a gluten-free all-purpose flour blend.
- Sweet Bread: Add 2 extra tablespoons of honey for a slightly sweeter taste.
Serving Ideas
- Classic Sandwiches: Perfect for PB&J, deli sandwiches, or grilled cheese.
- Breakfast Toast: Slather with jam, peanut butter, or avocado.
- French Toast: Slightly stale slices make the best French toast!
FAQs
How long does homemade sandwich bread last?
It stays fresh for 3-4 days at room temperature. Store in an airtight container or bread box.
Can I freeze it?
Yes! Wrap tightly in plastic wrap and freeze for up to 3 months.
My bread didn’t rise. What went wrong?
Ensure your yeast is fresh and activated properly. Also, check that your rising environment is warm enough.
How do I make the crust softer?
Brush with melted butter after baking and cover loosely with a towel while cooling.
Nutritional Information (Per Slice)
- Calories: 140
- Carbohydrates: 27g
- Protein: 4g
- Fat: 2g
- Fiber: 1g
- Sugar: 3g
Concluding Thoughts
Making homemade sandwich bread is easier than you think, and the results are far superior to store-bought loaves. With just a few simple ingredients and a little patience, you’ll have a loaf that’s soft, fluffy, and perfect for all your favorite sandwiches. Try it once, and you’ll never go back to store-bought! Let me know in the comments if you tried this recipe, and don’t forget to share your baking experiences. Happy baking!
Easy Homemade Sandwich Bread Recipe – Soft, Fluffy & Perfect Every Time!
