
Introduction
There’s something magical about making your own fermented hot sauce at home. The complex, tangy heat that develops over time is unlike any store-bought sauce, and the best part? You control the flavors! My journey into fermentation started when I wanted a hot sauce that wasn’t just spicy but had depth and character. After experimenting with different peppers and fermentation times, I found the perfect balance of heat and acidity. Whether you love drizzling it over tacos, eggs, or grilled veggies, this homemade fermented hot sauce will become your new favorite condiment!
Why You Will Love This Recipe
- Incredible Depth of Flavor – Fermentation enhances the taste, creating a richer and more complex hot sauce than a simple vinegar-based version.
- Customizable Heat Level – You can choose mild, medium, or fiery hot peppers to suit your spice tolerance.
- Great for Gut Health – Fermented foods contain probiotics that support digestion and overall well-being.
- No Artificial Additives – Pure, natural ingredients make for a cleaner, healthier hot sauce.
- Long Shelf Life – Thanks to fermentation, your sauce can last for months when stored properly!
Equipment Needed
To make this fermented hot sauce recipe, you’ll need:
- Glass jar with an airlock lid or regular lid (for fermentation)
- Fermentation weight (to keep peppers submerged in brine)
- Cutting board and knife (for chopping peppers and garlic)
- Blender or food processor (for pureeing the sauce)
- Strainer (if you prefer a smoother sauce)
- Small saucepan (to heat and mix the final sauce, if desired)
- Glass bottles or jars (for storing the finished sauce)
Ingredients
- 2 cups chili peppers (choose your heat level: jalapeños for mild, serranos for medium, habaneros for hot)
- 4 garlic cloves, peeled
- 1 1/2 teaspoons sea salt (non-iodized, as iodine can interfere with fermentation)
- 1 cup filtered water (avoid chlorinated tap water, which can kill beneficial bacteria)
- 1 small carrot, chopped (adds natural sweetness and balances heat)
- 1/2 teaspoon cumin (for an earthy depth of flavor)
- 1/4 teaspoon smoked paprika (enhances smokiness)
- 1 tablespoon apple cider vinegar (optional, to brighten the final sauce after fermentation)
Instructions
1. Prepare the Peppers and Ingredients
Wash and dry the chili peppers thoroughly. Remove stems and roughly chop them. For extra heat, leave the seeds and membranes intact. Add chopped garlic and carrots.
2. Make the Brine
Dissolve sea salt in filtered water to create a salt brine. This brine will help good bacteria thrive while preventing mold growth.
3. Pack the Jar
Place the chopped peppers, garlic, and carrot into the jar. Pour the salt brine over them, ensuring everything is submerged. Use a fermentation weight to keep ingredients below the liquid.
4. Ferment
Seal the jar with an airlock lid (or a loose-fitting lid if using a regular jar) and place it in a cool, dark place (65-75°F) for 5-10 days. Check daily to ensure bubbles are forming—a sign of healthy fermentation.
5. Blend the Sauce
After fermentation, pour everything into a blender, including the brine. Blend until smooth. For a thinner sauce, strain out solids using a fine-mesh sieve.
6. Adjust Flavor & Store
Add vinegar for a sharper taste, if desired. Pour the sauce into sterilized bottles or jars and store in the refrigerator. The flavor will continue to develop over time!
Tips
- Taste the fermentation daily after day 4 to gauge the tanginess.
- Use gloves when handling hot peppers to avoid burning your skin.
- For a smoky kick, char the peppers before fermenting.
- Longer fermentation (10+ days) results in a deeper umami flavor.
- Keep stored sauce refrigerated, and it will last for months!
Variations
- Milder Version: Use red bell peppers mixed with a few jalapeños.
- Extra Garlic: Add more garlic for a bolder, roasted-garlic style sauce.
- Tropical Twist: Blend in pineapple or mango for a sweet-spicy contrast.
- Herbal Infusion: Add cilantro or basil for a fresh, herbal layer.
Serving Ideas
- Drizzle over tacos, burritos, or nachos for extra heat.
- Mix into soups and stews to elevate their flavor profile.
- Use as a marinade for grilled chicken or seafood.
- Blend with mayonnaise or yogurt for a spicy dipping sauce.
- Top off scrambled eggs or avocado toast for a morning kick!
FAQs
How long should I ferment my hot sauce?
A minimum of 5 days is recommended, but 10-14 days will develop a deeper, richer flavor.
My brine is cloudy. Is that normal?
Yes! Cloudiness and bubbles indicate healthy fermentation. However, if you see mold (fuzzy or black spots), discard the batch.
Can I use dried chili peppers instead of fresh ones?
Fresh peppers are best, but you can rehydrate dried ones in warm water before fermenting.
Is fermented hot sauce safe to eat?
Yes! As long as your ingredients remain submerged in the brine and there is no mold, your sauce is safe and loaded with probiotics.
How spicy will my hot sauce be?
It depends on the peppers you choose! Mix different types for a balanced heat level.
Nutritional Information (Per Tablespoon)
- Calories: 5
- Carbohydrates: 1g
- Fat: 0g
- Protein: 0g
- Fiber: 0.2g
- Sodium: 150mg
- Vitamin C: 8% DV
Concluding Thoughts
Making fermented hot sauce at home is a rewarding process that results in a unique, flavorful condiment that’s free from artificial preservatives. Whether you prefer a fiery explosion of heat or a milder, tangy kick, this homemade sauce can be tailored to your taste. Give it a try, and let me know how yours turns out in the comments below. Happy fermenting!

How to Make Fermented Hot Sauce at Home – Easy Recipe with Bold Flavors!
Description
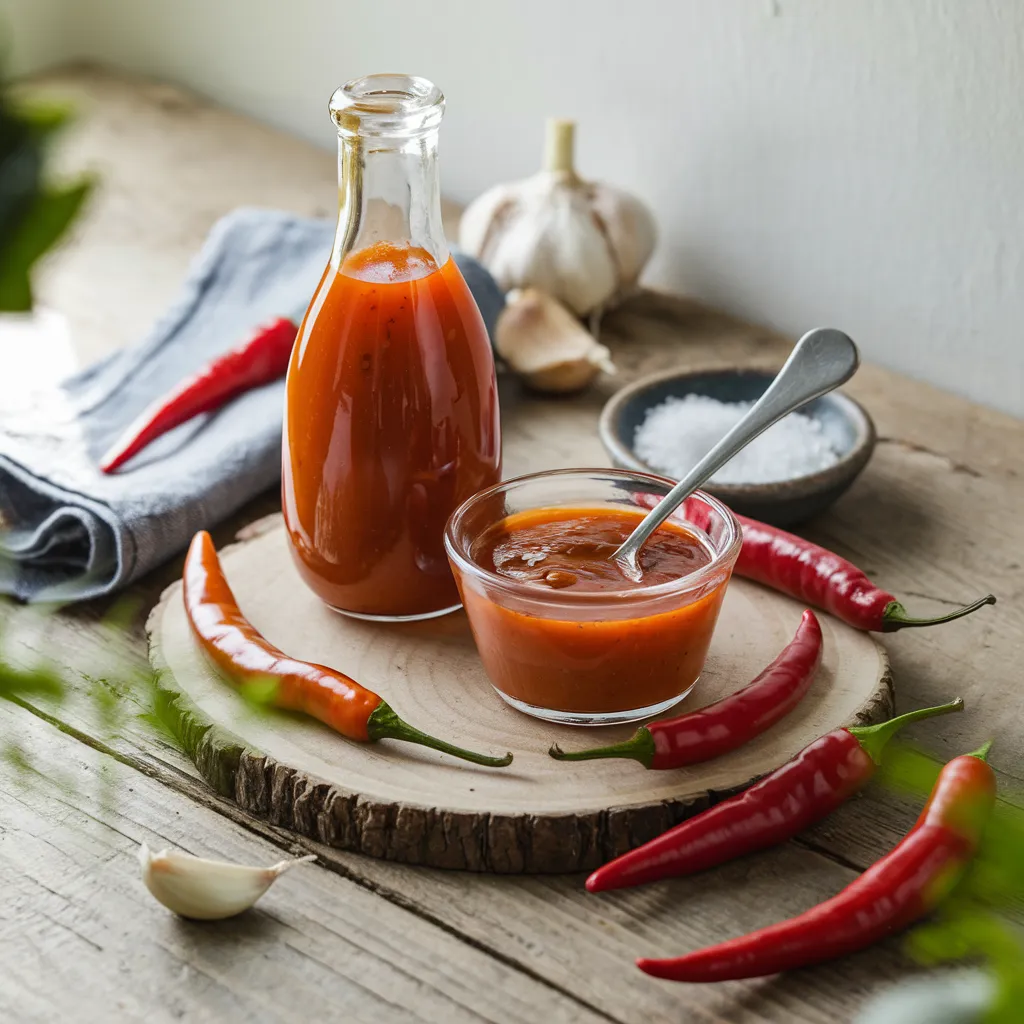
This fermented hot sauce brings out deep, complex flavors that store-bought versions can’t match. Made with fresh chili peppers, garlic, and a natural fermentation process, this sauce develops a rich umami taste with just the right amount of heat. Perfect for drizzling over tacos, eggs, grilled meats, or adding a spicy kick to your favorite dishes!
Ingredients
Instructions
-
Prepare the Peppers and Ingredients
Wash and dry the chili peppers thoroughly. Remove stems and roughly chop them. For extra heat, leave the seeds and membranes intact. Add chopped garlic and carrots.
-
Make the Brine
Dissolve sea salt in filtered water to create a salt brine. This brine will help good bacteria thrive while preventing mold growth
-
Pack the Jar
Place the chopped peppers, garlic, and carrot into the jar. Pour the salt brine over them, ensuring everything is submerged. Use a fermentation weight to keep ingredients below the liquid.
-
Ferment
Seal the jar with an airlock lid (or a loose-fitting lid if using a regular jar) and place it in a cool, dark place (65-75°F) for 5-10 days. Check daily to ensure bubbles are forming—a sign of healthy fermentation
-
Blend the Sauce
After fermentation, pour everything into a blender, including the brine. Blend until smooth. For a thinner sauce, strain out solids using a fine-mesh sieve.
-
Adjust Flavor & Store
Add vinegar for a sharper taste, if desired. Pour the sauce into sterilized bottles or jars and store in the refrigerator. The flavor will continue to develop over time!
Nutrition Facts
Servings: 16 ServingCalories:5kcalSodium:150mgPotassium:50mgTotal Carbohydrate:1gDietary Fiber: 0.2g
Note
- Taste the fermentation daily after day 4 to gauge the tanginess.
- Use gloves when handling hot peppers to avoid burning your skin.
- For a smoky kick, char the peppers before fermenting.
- Longer fermentation (10+ days) results in a deeper umami flavor.
- Keep stored sauce refrigerated, and it will last for months!