
Introduction
There’s something undeniably comforting about a warm bowl of mashed potatoes. I’m sure you can relate to that moment when a meal feels incomplete without the perfect mashed potatoes on the side. Growing up, mashed potatoes were the staple side dish at almost every family gathering. Whether we were celebrating Thanksgiving or just having a regular dinner, mashed potatoes were always there—smooth, velvety, and full of flavor. They were one of the first dishes I learned to make on my own, and through trial and error, I’ve discovered what truly makes mashed potatoes creamy, fluffy, and perfect every time.
After experimenting with various ingredients and techniques, I’ve finally created the ultimate mashed potatoes recipe that will never let you down. Whether you’re a beginner or a seasoned cook, this recipe is easy to follow, and you’ll be able to impress your friends and family with your skills in the kitchen. Let’s dive into this ultimate mashed potatoes recipe, which will help you make the creamiest, fluffiest mashed potatoes that are sure to become a family favorite.
Why You Will Love This Recipe
What makes this mashed potatoes recipe stand out from the rest? It’s all about the texture and flavor. So often, mashed potatoes can turn out too lumpy or too watery, but with the right technique, you can achieve the perfect balance of smoothness and fluffiness. The secret to these mashed potatoes lies in the ingredients and the method. You’ll be using high-quality potatoes, rich butter, and a touch of cream to create a dreamy, creamy dish that everyone will rave about.
One of the things I love most about this recipe is its versatility. You can adjust the flavors to suit your tastes, whether you prefer garlic-infused mashed potatoes or a more traditional buttery version. This recipe allows you to get creative while still sticking to the basics of making perfect mashed potatoes. And don’t worry, I’ll walk you through the entire process so that you can replicate this dish perfectly, every single time.
Equipment Needed
To make the ultimate mashed potatoes, you don’t need anything too fancy, but there are a few key tools that will make your life easier:
- Large Pot – You’ll need a large pot to boil the potatoes.
- Potato Masher or Potato Ricer – This is crucial for getting the smooth, creamy texture. A potato ricer is my personal favorite, but a masher works just as well.
- Measuring Cups and Spoons – To ensure the proper amount of ingredients.
- Butter Knife – For spreading the butter into the mashed potatoes.
- Large Mixing Bowl – For mixing in the butter and cream if you’re mashing by hand.
Optional:
- Hand Mixer or Stand Mixer – If you prefer an ultra-smooth texture, a hand mixer or stand mixer can make the process even quicker.
Ingredients
To make these mashed potatoes, you’ll need the following simple ingredients. The key is in the quality of the ingredients, so use the best you can find.
- 2 pounds of Yukon Gold potatoes (or Russet potatoes if you prefer a more starchy texture)
- 1/2 cup unsalted butter, cut into small cubes
- 1/2 cup whole milk, or more for desired creaminess
- 1/4 cup heavy cream (optional for extra richness)
- Salt, to taste
- Freshly ground black pepper, to taste
- 1-2 cloves of garlic, minced (optional for garlic mashed potatoes)
- Chives or parsley, finely chopped (for garnish, optional)
Instructions
Now that you have your ingredients ready, let’s walk through the step-by-step process to create perfect mashed potatoes.
Step 1: Peel and Cut the Potatoes
Start by peeling the Yukon Gold potatoes (or Russet potatoes, if you prefer them). Cutting them into even chunks, about 1-2 inches, helps them cook more evenly. The uniform size is key to getting the potatoes to cook in the same amount of time, resulting in a smooth, lump-free mash.
Step 2: Boil the Potatoes
Place the cut potatoes in a large pot and cover them with cold water. Make sure the water is about 1 inch above the potatoes. Add a generous pinch of salt to the water—this helps season the potatoes while they cook. Bring the water to a boil over medium-high heat, then reduce to a simmer. Let the potatoes cook for about 10-15 minutes or until they are fork-tender (you should be able to easily pierce them with a fork).
Step 3: Drain and Dry the Potatoes
Once the potatoes are done, drain them in a colander. To make them extra creamy, it’s important to let the potatoes sit for a minute or two to allow any excess water to evaporate. This step ensures that your potatoes won’t turn out watery.
Step 4: Mash the Potatoes
Now comes the fun part! Transfer the drained potatoes back into the pot or a large mixing bowl. Using a potato masher or ricer, mash the potatoes until smooth and lump-free. If you’re using a potato ricer, you can achieve a really velvety, fluffy texture that will make your mashed potatoes even better.
Step 5: Add the Butter, Milk, and Cream
With your mashed potatoes ready, it’s time to make them extra creamy. Start by adding the butter in small pieces, mixing it in gradually as it melts. Then add the milk and heavy cream (if you’re using it) a little at a time, stirring to combine until you reach your desired creaminess. Taste and adjust the seasoning with salt and pepper.
Step 6: Serve and Enjoy!
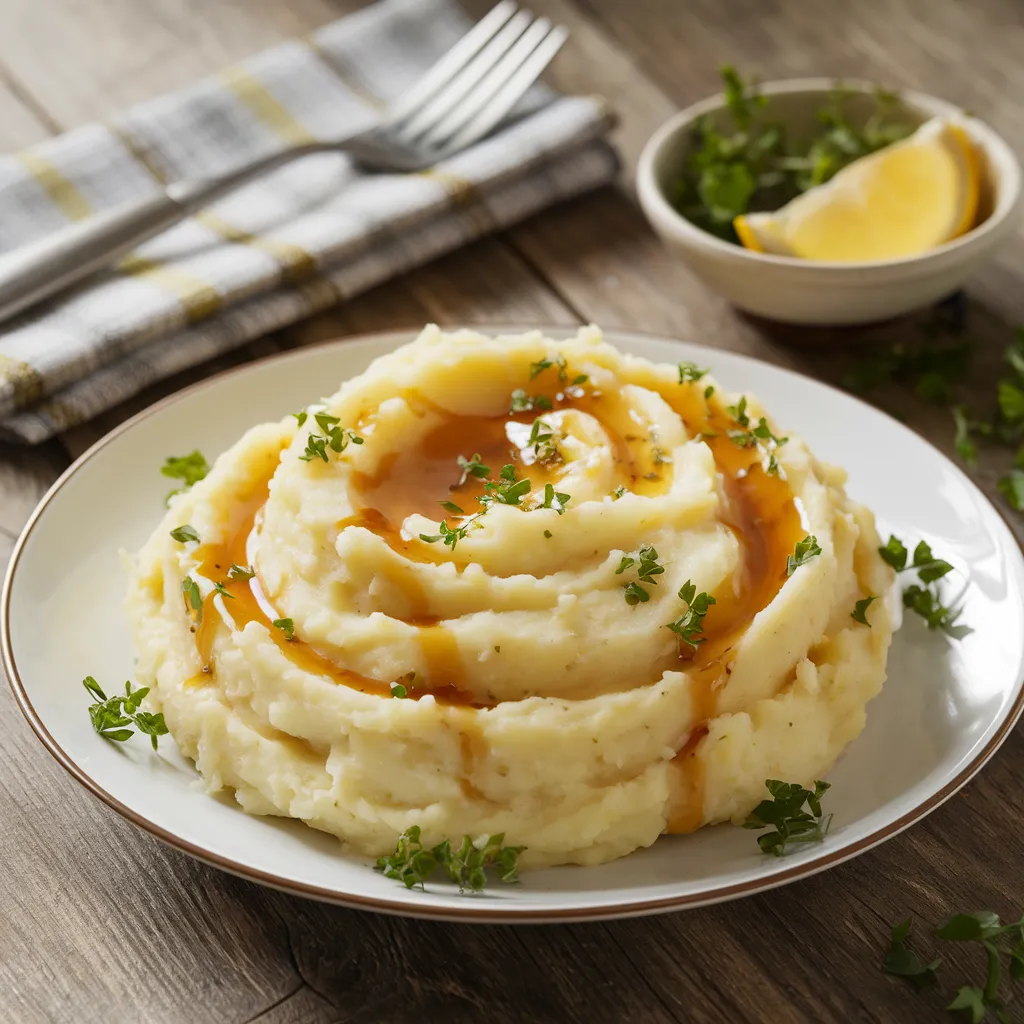
Once you’ve reached the perfect texture, transfer the mashed potatoes to a serving dish. Garnish with freshly chopped chives or parsley for a pop of color. For an extra touch of flavor, add a little more melted butter on top. Serve warm, and enjoy!
Tips
- Use the Right Potatoes: Yukon Gold potatoes are ideal for mashed potatoes because they are naturally creamy and buttery in flavor. However, if you prefer a fluffier texture, you can use Russet potatoes.
- Don’t Overmix: Overmixing mashed potatoes can lead to a gluey texture. For a light, fluffy result, avoid overworking the potatoes after mashing.
- Add Flavor Variations: For garlic mashed potatoes, sauté minced garlic in butter before adding it to the potatoes. You can also add grated cheese, sour cream, or even roasted garlic for an extra layer of flavor.
- Storage: Store leftover mashed potatoes in an airtight container in the fridge for up to 3 days. To reheat, add a splash of milk and heat in a microwave or on the stove.
Variations
Here are a few creative adaptations to customize your potatoes to suit different dietary preferences and tastes:
- Vegan Mashed Potatoes: Use plant-based butter and almond milk instead of dairy to make a vegan version of this recipe.
- Keto Mashed Potatoes: For a low-carb option, swap the potatoes for cauliflower to make cauliflower mash.
- Herb-Infused Mashed Potatoes: Add rosemary, thyme, or dill for an herby twist. You can even roast the herbs with the garlic for extra flavor.
- Cheesy Mashed Potatoes: Stir in some grated cheddar, Parmesan, or cream cheese for a rich, cheesy flavor.
Serving Ideas
Mashed potatoes make a great accompaniment to a variety of dishes. Here are some ideas for pairing:
- Roast Chicken: Serve mashed potatoes alongside a juicy roast chicken for a comforting, classic meal.
- Gravy: If you love gravy, pour a rich, savory brown gravy over your mashed potatoes.
- Steak: Mashed potatoes are the perfect side for a tender steak—rich and hearty, making the ideal contrast with the meat.
FAQs
How can I make my mashed potatoes even creamier?
For extra creaminess, you can add more butter, heavy cream, or sour cream to your mashed potatoes. Using a potato ricer instead of a masher will also help create a smoother texture.
Can I make mashed potatoes ahead of time?
Yes! You can make mashed potatoes ahead of time and reheat them. Just store them in an airtight container in the fridge. When you’re ready to serve, reheat them on the stovetop with a little milk or butter to bring them back to life.
Can I freeze mashed potatoes?
Yes, you can freeze potatoes for up to 2 months. Just let them cool completely, then transfer them to an airtight container or freezer bag. To reheat, thaw them in the fridge overnight and then reheat in a pot with a little milk.
Nutritional Information (Per Serving)
- Calories: 250 kcal
- Total Fat: 15 g
- Saturated Fat: 9 g
- Cholesterol: 30 mg
- Sodium: 300 mg
- Potassium: 600 mg
- Total Carbohydrates: 30 g
- Dietary Fiber: 3 g
- Sugars: 2 g
- Protein: 4 g
Concluding Thoughts
Making perfect mashed potatoes doesn’t have to be complicated. With this ultimate mashed potatoes recipe, you’ll be able to create a dish that’s creamy, fluffy, and absolutely delicious every time. Whether you’re serving them for a weeknight dinner or a holiday feast, mashed potatoes are always a crowd-pleaser. Don’t be afraid to get creative with variations or seasonings—this recipe is designed to be flexible and adaptable to your tastes.
So, go ahead and give it a try! Share your results with me in the comments below, or leave a review if you loved this recipe. Happy cooking!

The Ultimate Mashed Potatoes Recipe – Creamy, Fluffy, and Perfect Every Time
Description
This ultimate mashed potatoes recipe is the epitome of comfort food—rich, creamy, and smooth with a touch of butter and cream that will melt in your mouth. Perfect for family dinners, holiday meals, or any occasion where you want to impress your guests with a timeless classic.
Ingredients
Instructions
-
Step 1: Peel and Cut the Potatoes
Start by peeling the Yukon Gold potatoes (or Russet potatoes, if you prefer them). Cutting them into even chunks, about 1-2 inches, helps them cook more evenly. The uniform size is key to getting the potatoes to cook in the same amount of time, resulting in a smooth, lump-free mash.
-
Step 2: Boil the Potatoes
Place the cut potatoes in a large pot and cover them with cold water. Make sure the water is about 1 inch above the potatoes. Add a generous pinch of salt to the water—this helps season the potatoes while they cook. Bring the water to a boil over medium-high heat, then reduce to a simmer. Let the potatoes cook for about 10-15 minutes or until they are fork-tender (you should be able to easily pierce them with a fork).
-
Step 3: Drain and Dry the Potatoes
Once the potatoes are done, drain them in a colander. To make them extra creamy, it’s important to let the potatoes sit for a minute or two to allow any excess water to evaporate. This step ensures that your mashed potatoes won’t turn out watery.
-
Step 4: Mash the Potatoes
Now comes the fun part! Transfer the drained potatoes back into the pot or a large mixing bowl. Using a potato masher or ricer, mash the potatoes until smooth and lump-free. If you're using a potato ricer, you can achieve a really velvety, fluffy texture that will make your mashed potatoes even better.
-
Step 5: Add the Butter, Milk, and Cream
With your mashed potatoes ready, it’s time to make them extra creamy. Start by adding the butter in small pieces, mixing it in gradually as it melts. Then add the milk and heavy cream (if you’re using it) a little at a time, stirring to combine until you reach your desired creaminess. Taste and adjust the seasoning with salt and pepper.
-
Step 6: Serve and Enjoy!
Once you’ve reached the perfect texture, transfer the mashed potatoes to a serving dish. Garnish with freshly chopped chives or parsley for a pop of color. For an extra touch of flavor, add a little more melted butter on top. Serve warm, and enjoy!
Nutrition Facts
Servings: 4 ServingCalories:250kcalTotal Fat:15gSaturated Fat: 9gCholesterol:30mgSodium:300mgPotassium:600mgTotal Carbohydrate:30gDietary Fiber: 3gSugars: 2gProtein:4g
Note
Use the Right Potatoes: Yukon Gold potatoes are ideal for mashed potatoes because they are naturally creamy and buttery in flavor. However, if you prefer a fluffier texture, you can use Russet potatoes.
Don’t Overmix: Overmixing mashed potatoes can lead to a gluey texture. For a light, fluffy result, avoid overworking the potatoes after mashing.
Add Flavor Variations: For garlic mashed potatoes, sauté minced garlic in butter before adding it to the potatoes. You can also add grated cheese, sour cream, or even roasted garlic for an extra layer of flavor.
Storage: Store leftover mashed potatoes in an airtight container in the fridge for up to 3 days. To reheat, add a splash of milk and heat in a microwave or on the stove.